
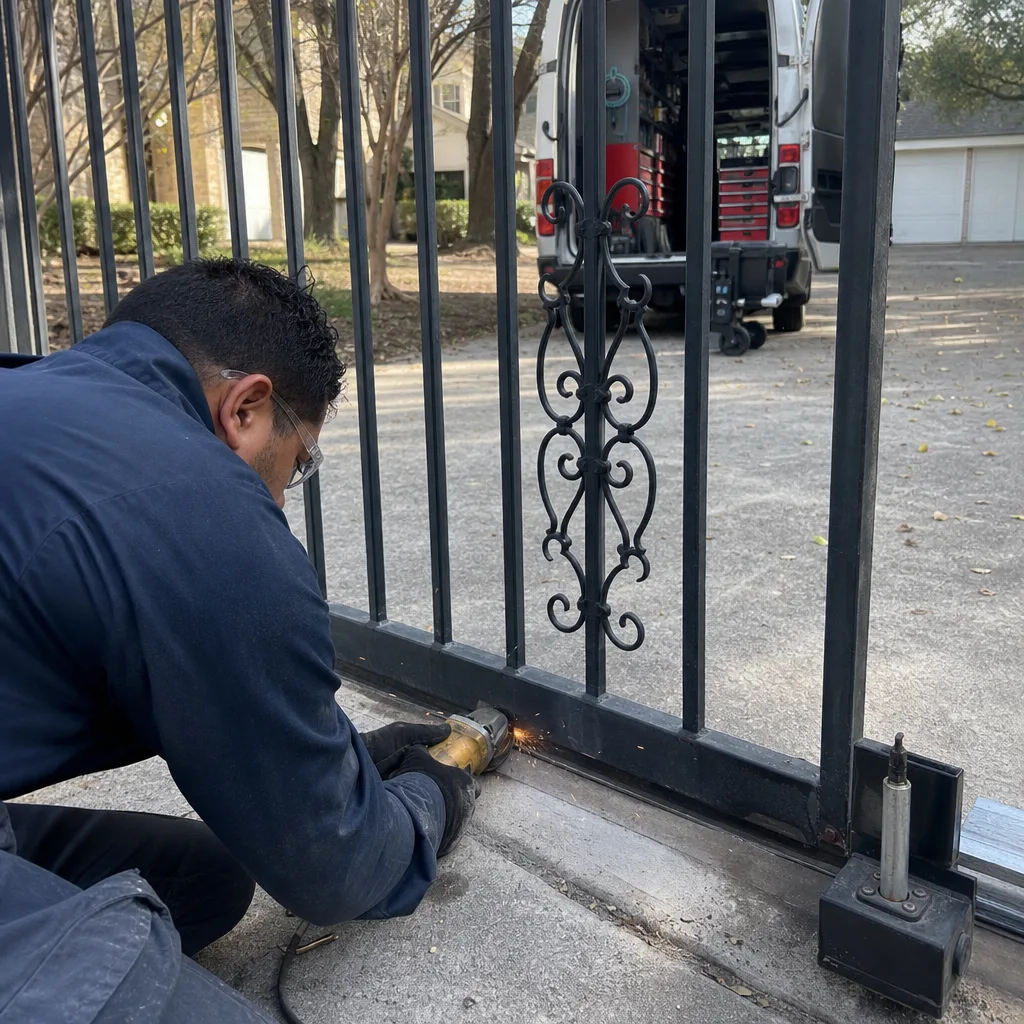
Last updated October 16, 2026
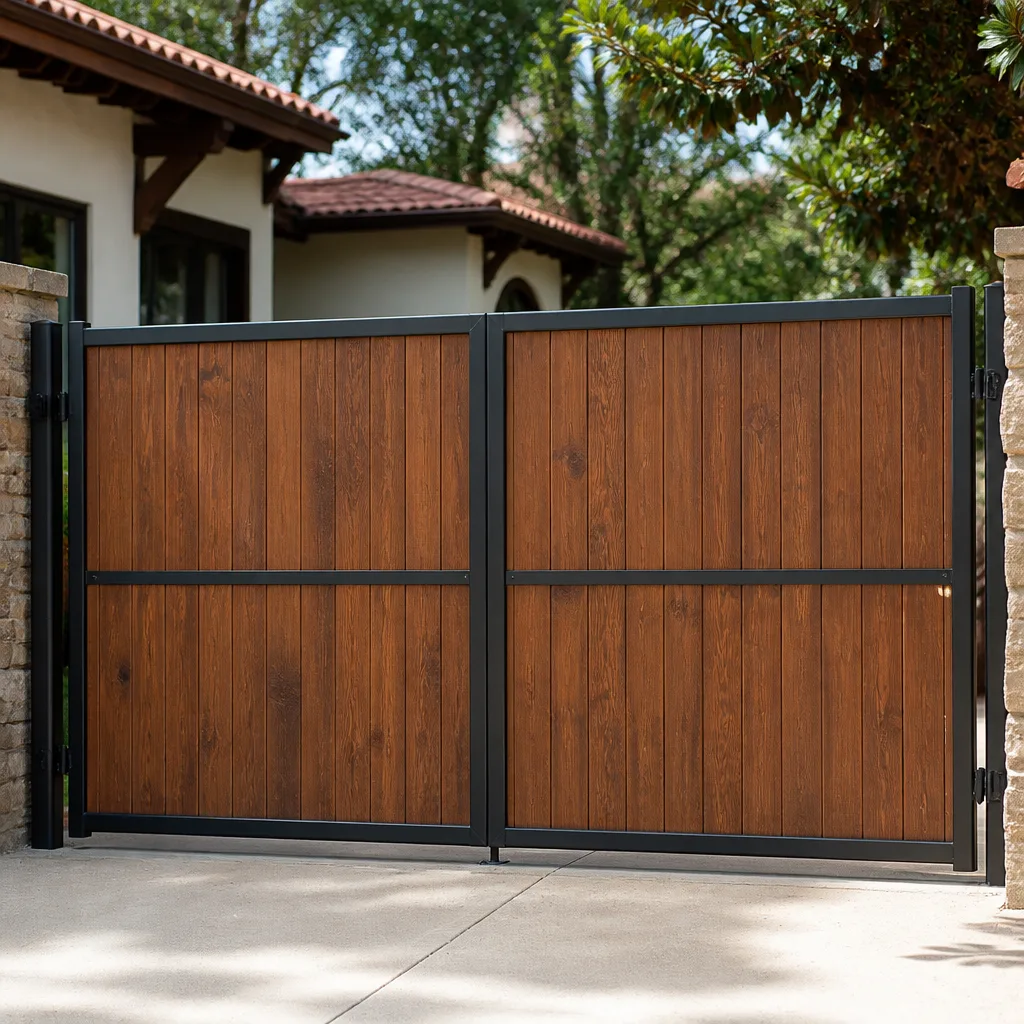 Wood & steel frame
 Sliding driveway gates
Free on-site gate assessment - hinges, posts, and your LiftMaster or Nice gate operator checked before anything is quoted
The assessment is free and the quote is the invoice.
Get your free estimateDIY vs Professional Gate Repair: The San Antonio Homeowner’s Decision Guide
Adjusting a gate’s close-force setting is a legitimate DIY task that takes four minutes. Adjusting it incorrectly, set too high, is how gates fail safety compliance tests and, in worst cases, how injuries happen. The manual has the number; most homeowners never read it. This guide is not a lecture about calling a pro for everything. It is an honest capability map for San Antonio homeowners: which jobs you can safely handle with a screwdriver and ten minutes, which jobs carry hidden liability that no parts-store savings justify, and what a real Gate Repair Cost Breakdown: The San Antonio Homeowner’s Reference for 2026 shows when you compare parts-only against parts-plus-labor. Every dollar figure here reflects what we see in San Antonio driveways, not national averages.
Styles & brands we work with
Quick Answer
Most San Antonio homeowners can safely handle four gate maintenance tasks themselves: remote battery swaps, photo-eye cleaning, basic lubrication, and the monthly manual release test. Repairs involving capacitors, force calibration, access control wiring, welded components, or underground splices should go to a licensed professional because the failure modes, entrapment injury, fire, code violation, a gate falling off its track, carry liability that far exceeds the labor savings. If the fix involves 120V power, load-bearing steel, or safety sensors, call a Gate Repair specialist.
Table of Contents
- The Four DIY-Safe Tasks (And How to Do Them Right)
- The Five Repairs That Look DIY-Friendly But Carry Real Risk in Texas Heat
- Cost Comparison: Parts-Only vs. Professional for Five Common San Antonio Gate Repairs
- Why San Antonio Soil Makes Gate Wiring Different From Every DIY Video You’ve Watched
- Entrapment Sensors and Texas Liability: The Hidden Cost of Getting It Wrong
- How a Professional Diagnostic Walk-Through Helps You Make a Confident DIY-or-Hire Decision
- How to Use Repair Videos to Get a Better Contractor Quote, Even If You Never Touch the Gate
- Common Mistakes to Avoid
- When to Call a Professional
- Frequently Asked Questions
- The Bottom Line
The Four DIY-Safe Tasks (And How to Do Them Right)
Before we talk about what not to touch, here is what you absolutely can do. These four tasks require no special tools beyond a Phillips screwdriver, a clean rag, and about ten minutes. They are safe, they are in every owner’s manual, and they prevent about a third of the service calls we run across San Antonio, from Alamo Heights to Stone Oak.
1. Remote Battery Swap
Slide the clip off the back of your remote, note the battery orientation, swap in the same model number, usually a CR2032 or A23 depending on brand. If your remote has a visor clip, use a small flathead to pop the seam. Test from thirty feet away. If it works from ten feet but not thirty, the battery is not the problem; the receiver antenna may be pinched or corroded. That is a five-minute diagnostic we walk through on Gate Opener Repair in San Antonio.
2. Photo-Eye Cleaning
San Antonio’s dust, especially during cedar season and summer construction months, coats photo-eye lenses fast. Locate the two small plastic eyes on either side of the gate opening, usually four to six inches off the ground. Wipe each lens with a damp cloth, then a dry one. Test by pressing the close button: if the gate reverses immediately before reaching the closed position, the eyes are misaligned or still obstructed. A clean lens with a solid green or red LED on each eye means the circuit is healthy.
3. Basic Lubrication
Use a silicone-based lubricant or white lithium grease, never WD-40 alone, on hinge pins, roller bearings, and the chain or screw drive on opener models from FAAC and Linear. Wipe off excess, because dripping lubricant attracts caliche dust and turns into grinding paste within a week. Do this every six months. Areas to avoid: the circuit board housing, the clutch assembly, and any surface labeled “no lubricant” in the manual.
4. Manual Release Test
Every automatic gate has a manual release, a pull handle or keyed lever, that disconnects the opener from the gate leaf so you can swing it by hand. Test it monthly. If the gate is too heavy to move comfortably by hand, the opener is working harder than it should, and a spring or hinge is failing. This is the single best early-warning system you own, and most San Antonio homeowners have never pulled it. If the gate shudders or binds during manual operation, that is a hinge bearing or wheel going bad, cheap to fix now, expensive when the leaf sags into the driveway.
These four tasks are the entire legitimate DIY list for automatic gates. Everything else below is where the real money and the real risk live.
The Five Repairs That Look DIY-Friendly But Carry Real Risk in Texas Heat
YouTube makes everything look easy. A twelve-minute video skips the three hours of troubleshooting, the two stripped bolts, and the trip back to the hardware store. More importantly, it skips the liability. In Texas, a gate that closes on a child or a vehicle is a premises liability event. Homeowners insurance may cover it, if the gate was installed and maintained to UL 325 standards. If you modified the force setting or bypassed a sensor, good luck. Here are the five jobs we regularly see San Antonio homeowners attempt, and why each one carries risk beyond the obvious.
1. Capacitor Discharge Injury
The capacitor on a gate opener board stores enough charge to knock you on your back even with the power off. On BFT and Viking models, capacitors are sized generously, and they hold charge for a long time in San Antonio’s heat. A homeowner sees a swollen capacitor, orders a replacement off Amazon, and reaches in without discharging the old one. The result ranges from a burned finger to a serious shock. Even the job of discharging one properly, using an insulated resistor across the terminals, requires knowing which terminals and what resistance. This is not a “watch once and try it” task.
2. Mis-Wired Access Control Creating a Code Violation
San Antonio requires gate operators on new installations to meet UL 325 entrapment protection standards. That includes photo-eyes, reversing edges, and a force limit setting that stops the gate before it can injure a person. When a homeowner re-wires a keypad or adds a third-party smart controller, they often bypass the safety circuit to make it “work.” The gate opens. It also now closes with no entrapment protection. If a neighbor’s kid darts under the gate, the homeowner is liable. Insurance companies look for this exact modification when denying claims.
3. Improper Weld Repair That Voids UL Listing
Steel gate frames crack. It happens in San Antonio’s temperature swings, especially on heavier ornamental gates. A homeowner with a friend who welds gets a bead laid on the crack. The gate looks fixed. But the original gate was engineered and, on newer installations, UL-listed as a complete assembly. A field weld that changes the heat treatment or the joint geometry voids that listing. More practically, welding on a gate whose hinges are already worn transfers stress to the new weld, and it cracks again in six months. Proper repair means addressing the hinge wear and the underlying stress point, not just closing the visible crack.
4. Incorrect Force Calibration
Here is the scenario we opened with. The close-force setting controls how hard the opener pushes before it reverses. Set too high, the gate can pin a child or damage a car. Set too low, the gate reverses every time it hits a leaf or a slight grade change. The correct setting is a specific number in the manual, measured with a force gauge, not a “turn it up until it closes” guess. In San Antonio’s summer heat, gate tracks expand, so a force setting calibrated in January may behave differently in August. This is a measurement, not an adjustment, and getting it wrong is the most common cause of entrapment injuries on residential gates.
5. Underground Wire Splicing in Caliche
San Antonio sits on caliche, a rock-hard calcium carbonate layer that makes trenching miserable and wire splicing unforgiving. When a loop detector wire or low-voltage run gets cut, the DIY fix is a waterproof wire nut wrapped in electrical tape and reburied. Caliche shifts, water seeps through the tape, and the splice corrodes within a season. Then the gate works intermittently, and the homeowner is chasing a ghost fault. Proper repair uses gel-filled splice kits rated for direct burial, and even then, we pull new wire when the old run is degraded. This is one of the least glamorous repairs in gate work, and one of the most common sources of callbacks.
If you are facing any of these five, the math changes. More on that in the cost comparison below.
Cost Comparison: Parts-Only vs. Professional for Five Common San Antonio Gate Repairs
Here is the honest money conversation. We will show parts-only cost, the realistic time a competent DIYer spends including the inevitable second trip to Home Depot, and what a professional charges in San Antonio with parts and labor included. We value DIY time at $28 per hour, roughly what a skilled tradesperson makes, because your Saturday is worth at least that.
1. Remote Control Replacement or Board Reprogram
- Parts-only DIY: New remote, $35 to $90. Programming takes 15 minutes if you have the manual and the opener’s learn button is accessible. Total cost: $35 to $90 plus 0.25 hours.
- Professional: $95 to $185 including the remote, programming, and verification that the receiver is healthy. A pro also confirms whether the old remote died from a battery or from a failing receiver board, which a DIY swap would miss.
- Verdict: Safe DIY. If you replace the remote and the new one also fails within weeks, call a pro.
2. Photo-Eye Misalignment
- Parts-only DIY: Zero dollars if cleaning fixes it. A new photo-eye pair runs $50 to $120 if one is cracked. Most homeowners spend an hour fiddling with alignment brackets. Total cost: $0 to $120 plus 1 hour.
- Professional: $120 to $240 including the part if needed, proper alignment, and a force-safety test to confirm the entire entrapment circuit works together. Total cost: $120 to $240.
- Verdict: Safe DIY for cleaning. Call a pro if the eyes won’t align after 20 minutes, because a misaligned eye usually means a shifted gate or a failing hinge, not a faulty sensor.
3. Gate Hinge Replacement
- Parts-only DIY: Heavy-duty hinge pair, $60 to $180 depending on gate weight. Requires lifting the gate leaf off its pins, which on a 300-pound steel gate is a two-person job with a floor jack. Underestimating the weight is how fingers get crushed. Total cost: $60 to $180 plus 3 hours and a chiropractor visit.
- Professional: $280 to $600 including hinges, shimming, re-leveling the gate leaf, and re-lubricating all pivot points. A pro also checks whether the post itself is shifted, which new hinges alone cannot fix. Total cost: $280 to $600.
- Verdict: DIY only on light, single-leaf gates under 150 pounds with a helper. Anything heavier, call a pro.
4. Control Board Replacement
- Parts-only DIY: Board only, $150 to $400 depending on brand. Viking and BFT boards skew toward the high end. The swap takes 30 minutes if every connector matches. They seldom do, and adapting wire harnesses without a schematic is how boards get fried on first power-up. Total cost: $150 to $400 plus 2 hours and real risk of buying a second board.
- Professional: $350 to $700 including the board, harness adaptation if needed, force recalibration to match the new board’s settings, and a full safety-circuit test. Total cost: $350 to $700.
- Verdict: Call a pro. The labor premium is insurance against a second board purchase.
5. Underground Loop Detector Wire Repair
- Parts-only DIY: Splice kit, $25. Trenching in caliche, 3 to 6 hours depending on how much rock you hit. The splice fails within a year if water reaches it. Total cost: $25 plus a full day and a probable redo.
- Professional: $300 to $850 depending on splice vs. new wire pull and trench length. Includes a loop detector test and a warranty on the repair. Total cost: $300 to $850.
- Verdict: Call a pro. This is the single worst DIY value in gate repair, because the failure mode, an intermittent gate that sometimes refuses to open, is the most annoying problem a homeowner can chase.
Our Calder Gate Repair San Antonio home page shows the full range of what we fix, and every quote includes the written price before any work starts. No surprises after the fact, ever.
Why San Antonio Soil Makes Gate Wiring Different From Every DIY Video You’ve Watched
Most gate repair videos are filmed in Florida, Arizona, or California. Sandy soil, easy trenching, predictable drainage. San Antonio is different. The caliche layer sits anywhere from six inches to three feet down depending on where you are in Bexar County, and it changes the game for anything underground.
Caliche is a sedimentary rock that forms when calcium carbonate cements soil particles together. It is hard enough to require a pickaxe or a jackhammer attachment in places, and it expands and contracts with moisture at a different rate than the soil above it. For gate wiring, this means three things. First, trenches in caliche are shallower than code would like, because homeowners give up when the rock gets tough. Shallow wire is exposed to more heat and more physical damage from roots and shifting. Second, caliche holds water against wire insulation longer than sandy soil, accelerating corrosion on any splice that is not perfectly sealed. Third, the rock itself shifts microscopically with freeze-thaw cycles and heavy rain seasons, which stresses not just wire but conduit joints and the gate posts set in the same ground.
This is why the spliced-loop-detector repair fails so often in San Antonio. The homeowner watches a video from Phoenix, does a textbook splice, reburies it, and eight months later the gate stops responding to the exit loop. The splice was fine. The environment ate it. A Gate Repair in San Antonio technician knows to use direct-burial gel splices, over-dig the trench so wire sits below the caliche where possible, and test the entire loop circuit before closing the trench. That is experience, not talent, and it is why local knowledge matters more than general handiness.
Entrapment Sensors and Texas Liability: The Hidden Cost of Getting It Wrong
Texas does not require a permit or inspection for most residential gate repairs, which sounds like good news for DIYers. It is not, and here is why. The absence of inspection means the only enforcement mechanism is liability after something goes wrong. When a gate injures a child or damages a vehicle, the homeowner’s insurance company investigates. If the investigation finds that the gate’s entrapment protection was disabled, misadjusted, or improperly wired, the claim can be denied, and the homeowner can be personally exposed.
UL 325 is the standard that governs automatic gate safety. It requires two independent entrapment protection systems: typically, photo-eyes and a reversing edge or a force limit setting. Both must work together. A homeowner who installs a new control board and skips the force calibration has, in effect, disabled one of the two required protection systems. The gate opens and closes fine. It also fails the standard that every insurance adjuster checks after an incident.
In the San Antonio market, where many homes have driveway gates that swing over sidewalks or face active streets, this is not a theoretical risk. A gate leaf that swings outward across a sidewalk must have a sensor that stops it if a pedestrian is in the path. If a homeowner replaced that sensor with a generic part not matched to the board, and a pedestrian is struck, the liability is substantial. A professional repair includes a documented safety test, and that documentation is what protects you if something ever happens. It is also what makes the repair defensible to an insurance company, because the written record shows the system was functioning to standard on the service date.
How a Professional Diagnostic Walk-Through Helps You Make a Confident DIY-or-Hire Decision
Here is something most homeowners do not know: you can hire a gate specialist for a diagnostic visit without committing to the repair, and that visit is often the cheapest money you will spend on the entire problem. At Electric Gate Repair in San Antonio, we walk the entire system before quoting anything. Here is what that walk-through looks like and why it helps you decide.
- Visual inspection of the gate leaf and frame. We look for rust at the hinge points, sag at the free end, and cracks in welds. These are structural issues that no opener repair will fix, and spotting them early tells you whether you are fixing a mechanical problem or an opener problem.
- Manual operation test. We pull the release and swing the gate by hand. If it moves smoothly and balances near the mid-point, the mechanical side is healthy. If it binds or weighs a ton, the problem is physical, not electronic.
- Opener board and capacitor check. We look for swollen capacitors, burned traces, and loose connectors. Many intermittent gate problems are a single cracked solder joint on a board that every DIY video skips right past.
- Photo-eye and safety edge test. We block each sensor and confirm the gate reverses. This is not just a pass/fail; we also check response time, because a sensor that takes two seconds to trigger is a sensor that is about to fail.
- Force calibration measurement. We use a force gauge to measure actual close force. This is the number the manual specifies, and it is the setting most likely to be wrong on a gate that was previously serviced by a homeowner.
- Written scope of work with a fixed price. After the walk-through, you get a written diagnosis and a fixed quote. The quote itemizes parts and labor. You can take that quote and decide whether the job is worth doing yourself with the exact part numbers listed. No pressure, no obligation.
What this process gives you is leverage. Even if you never hire us, you now know exactly what part is failing, what it should cost, and whether the repair is within your capability. That is a better position than guessing from a video. Our Gate Opener Repair in San Antonio team is trained on FAAC, BFT, Linear, and Viking openers, among others, and the diagnosis is based on what the opener actually needs, not a parts catalog guess.
How to Use Repair Videos to Get a Better Contractor Quote, Even If You Never Touch the Gate
Watching DIY videos has value even for the homeowner who will never pick up a wrench. Here is how to use that research time to get a sharper quote from any contractor.
- Identify the exact component before you call. Watch two or three videos on your symptom, not your gate model. Write down the part names you hear: limit switch, the small sensor that tells the gate when to stop; run capacitor, the cylinder that stores power to start the motor; control board, the brain that interprets commands from remotes and keypads. When you call a contractor, you can say “I think the limit switch is failing because the gate stops six inches short” instead of “the gate’s acting weird.” That saves a diagnostic callout and tells the contractor you have done your homework, which changes the conversation.
- Ask the contractor to confirm your diagnosis in writing. When the tech arrives, say what you think the problem is and ask them to either confirm it or explain what they found instead. A written scope of work that names the failed part and the fix protects you from paying for a guessed-at repair.
- Use video knowledge to spot upselling. If a video shows a simple hinge replacement and the contractor is pushing a full gate replacement, you know to ask why. Sometimes a full replacement is legitimate, a 25-year-old gate with rusted-through posts is not worth re-hanging. But you should know the difference between a legitimate recommendation and a sales script, and three videos will teach you that difference.
- Time-box your DIY attempt. The most useful thing a video can give you is a realistic sense of the job’s difficulty. If the video says “this is a 45-minute job for a first-timer” and you are two hours in with the gate disassembled in the driveway, stop. A partially disassembled gate is dangerous, and a pro can finish what you started in about the same time it took you to get stuck.
Common Mistakes to Avoid
- Using WD-40 as a lubricant. WD-40 is a water displacer, not a lubricant. It washes out whatever grease was there and dries up. Use white lithium grease or silicone spray on moving parts. In San Antonio dust, the wrong lubricant becomes grinding compound within days.
- Replacing a remote before checking the receiver. A dead remote is often a healthy remote paired to a receiver with a corroded antenna or a failing board. Swap the battery first, but if a second remote also fails, the problem is not in your hand.
- Ignoring a slow gate. A gate that takes longer to open or close than it did six months ago is telling you something. Usually it is a failing capacitor or a binding hinge. Ignoring it until it stops completely turns a $200 repair into a $500 one.
- Bypassing the photo-eyes to “fix” a reversing gate. When a gate reverses for no reason, the photo-eyes are doing their job, or the force setting is too low. Bypassing the eyes makes the gate close, and also removes the primary safety system that protects anyone under it. This is the most dangerous mistake a homeowner can make.
- Splicing underground wire with electrical tape. We covered the caliche problem above. Electrical tape is not a waterproof splice method, and in Bexar County soil, it fails predictably. Use gel-filled direct-burial splices or call a pro.
- Buying generic parts that “look the same.” A generic photo-eye pair from a discount site may not communicate with a BFT or Viking board correctly. The gate may work for a week and then fault out. Match the part number on the old component, not the look of the housing.
- Testing a repair with a child or pet in the path. This sounds obvious, and it still happens. After any adjustment, test the gate’s reversing function with a piece of cardboard, not a person or an animal. If it crushes the cardboard, it is not safe.
When to Call a Professional
Call a gate specialist when the repair involves the capacitor, the control board, the force calibration, any welded component, any underground wiring, or any sensor that is not simply dirty. Call when the gate is heavy enough to require a jack to move, when the opener makes a grinding or buzzing sound, or when the gate has already failed once and your fix did not last. These are the jobs where the cost of getting it wrong, in injury, liability, or a second repair, exceeds the labor cost of getting it right the first time. Calder Gate Repair San Antonio offers free estimates in San Antonio, call (361) 314-4803, and every quote is a written price before any work starts. The 365-Day Done Right Promise means if the repair fails within a year, we return at no charge to make it right.
Frequently Asked Questions
Most gate repairs in San Antonio run between $120 and $700 depending on the component. Simple fixes like photo-eye realignment or remote reprogramming sit at the low end from $120 to $240. Control board replacements and hinge overhauls sit at the high end from $350 to $700. The price is quoted and agreed in writing before any work starts, so the number you approve is the number you pay. Call (361) 314-4803 for an exact quote, estimates are free.
You can handle four maintenance tasks safely: remote battery swaps, photo-eye cleaning, basic lubrication, and the manual release test. Repairs involving capacitors, control boards, force calibration, or wiring should go to a professional, because the failure modes include electrical shock, entrapment injury, and fire. If the repair involves 120V power or safety sensors, call a gate specialist.
A full opener installation includes the new operator unit, mounting brackets, photo-eyes, a reversing edge or equivalent safety device, wiring to the power source, programming of all remotes and keypads, and a final force calibration and safety test. A professional installation also includes a written work order documenting that the system meets UL 325 standards, which is what protects you if a claim ever arises. Call (361) 314-4803 for a written installation quote, estimates are free.
Yes. A complete gate opener service includes running power from the nearest source to the operator, installing safety edges along the gate leaf if required, and connecting the entire system so the photo-eyes, edges, and force limit work together. Underground wire runs in San Antonio caliche require direct-burial-rated materials, and we use gel-filled splices for any junction. Call (361) 314-4803 to schedule a free on-site assessment.
Calder Gate Repair San Antonio services FAAC, BFT, Linear, Viking, and five other major brands, covering virtually every opener a San Antonio homeowner is likely to own. The brand is printed on the cover of the control board or on a sticker inside the opener housing. Call (361) 314-4803 with that brand name and a live person will confirm coverage immediately, 24/7.
Ask for a written scope of work with a fixed price, confirmation that they are insured and bonded, and what their warranty covers and for how long. Calder Gate Repair San Antonio provides a written price before any work starts, a written guarantee on every repair, and a free second visit if the repair fails within 365 days. Call (361) 314-4803 to get a written quote and see the difference a structured process makes.
The Bottom Line
The DIY-vs-pro decision for gate repair is not about capability, it is about consequence. Four jobs are safely yours: battery swaps, photo-eye cleaning, lubrication, and the monthly release test. Everything else carries a liability tail that parts savings cannot offset. A gate that fails on a car or a child creates consequences no YouTube tutorial prepays. Know which jobs are yours, use videos to understand the problem even if you hire the fix, and get a written scope of work before committing either way. That is the whole decision framework, and it will keep your gate, and your family, safe for years.
Written by Nico Alvarez, Owner at Calder Gate Repair San Antonio, serving San Antonio since 2009.
See the difference
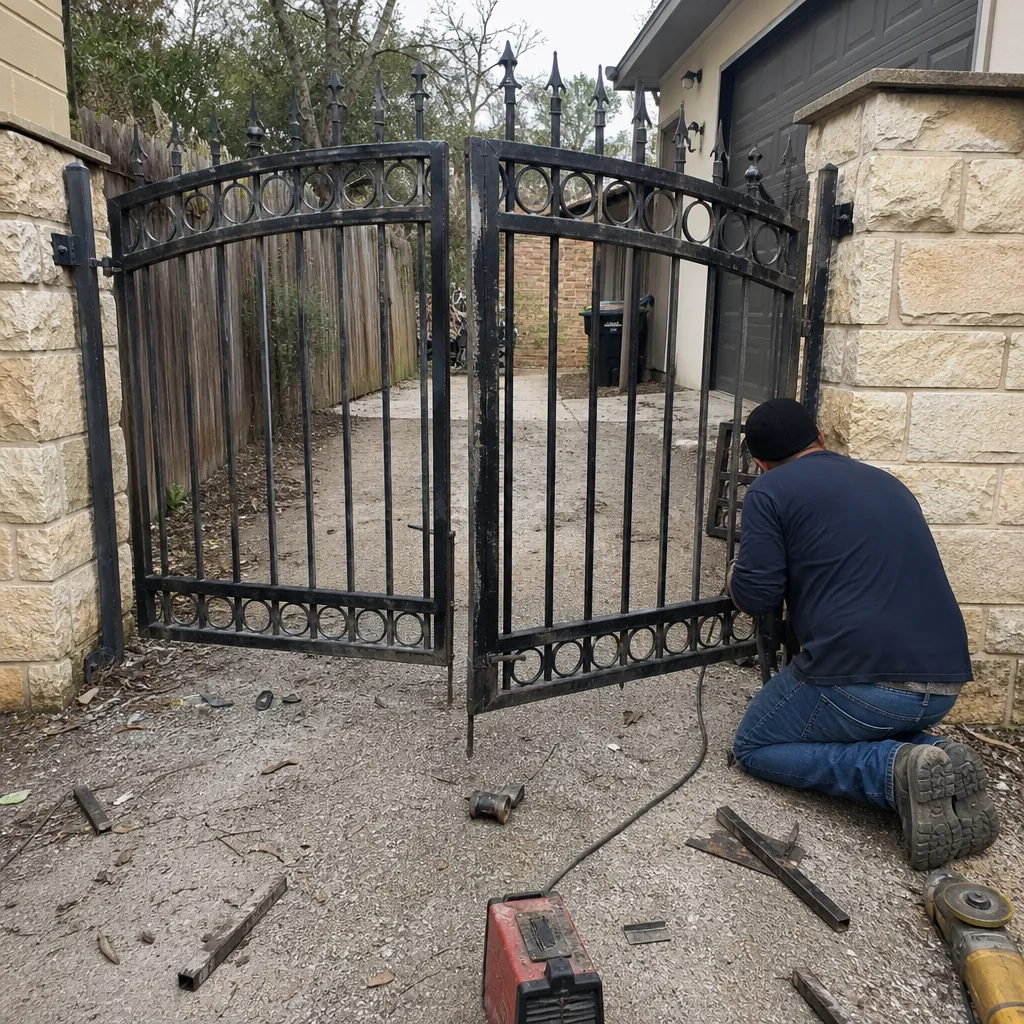 Before
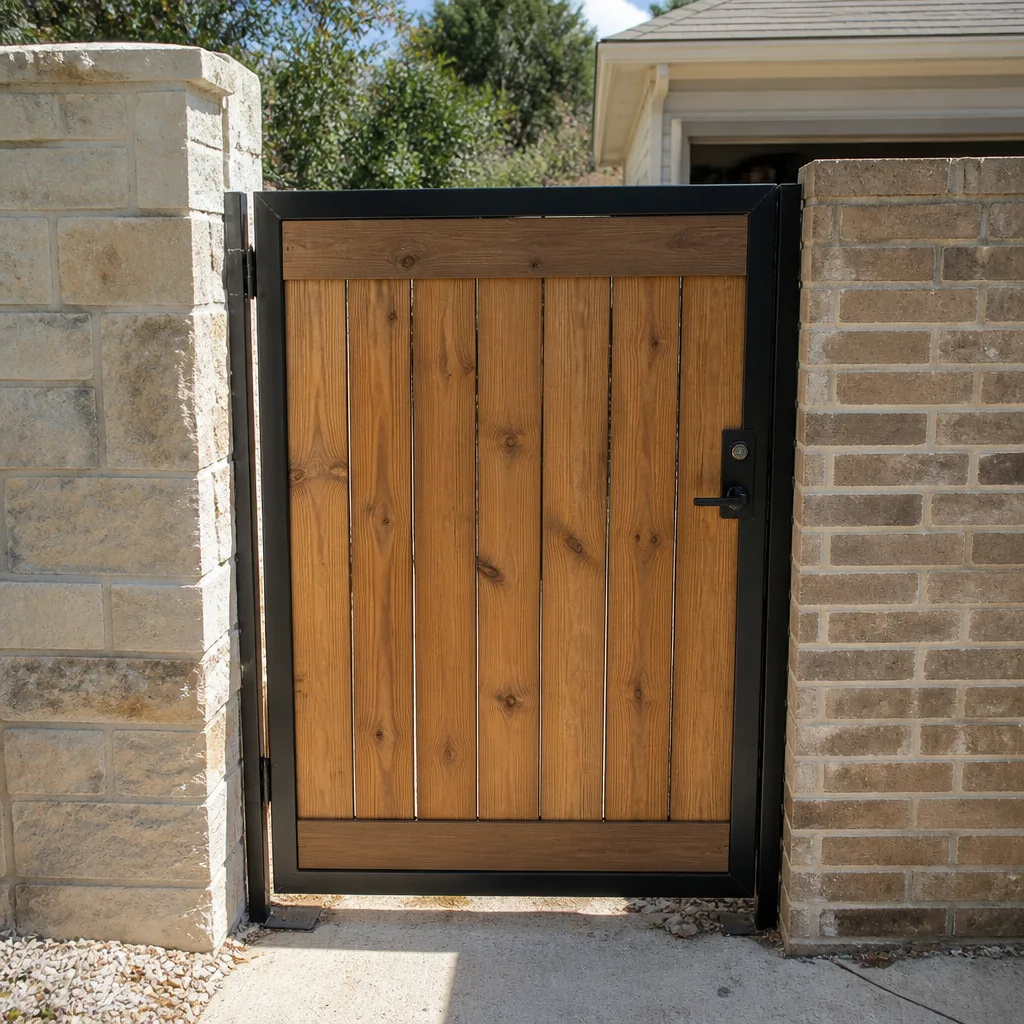 After
After Before
 After
After Before
 After
After