
Last updated October 16, 2026
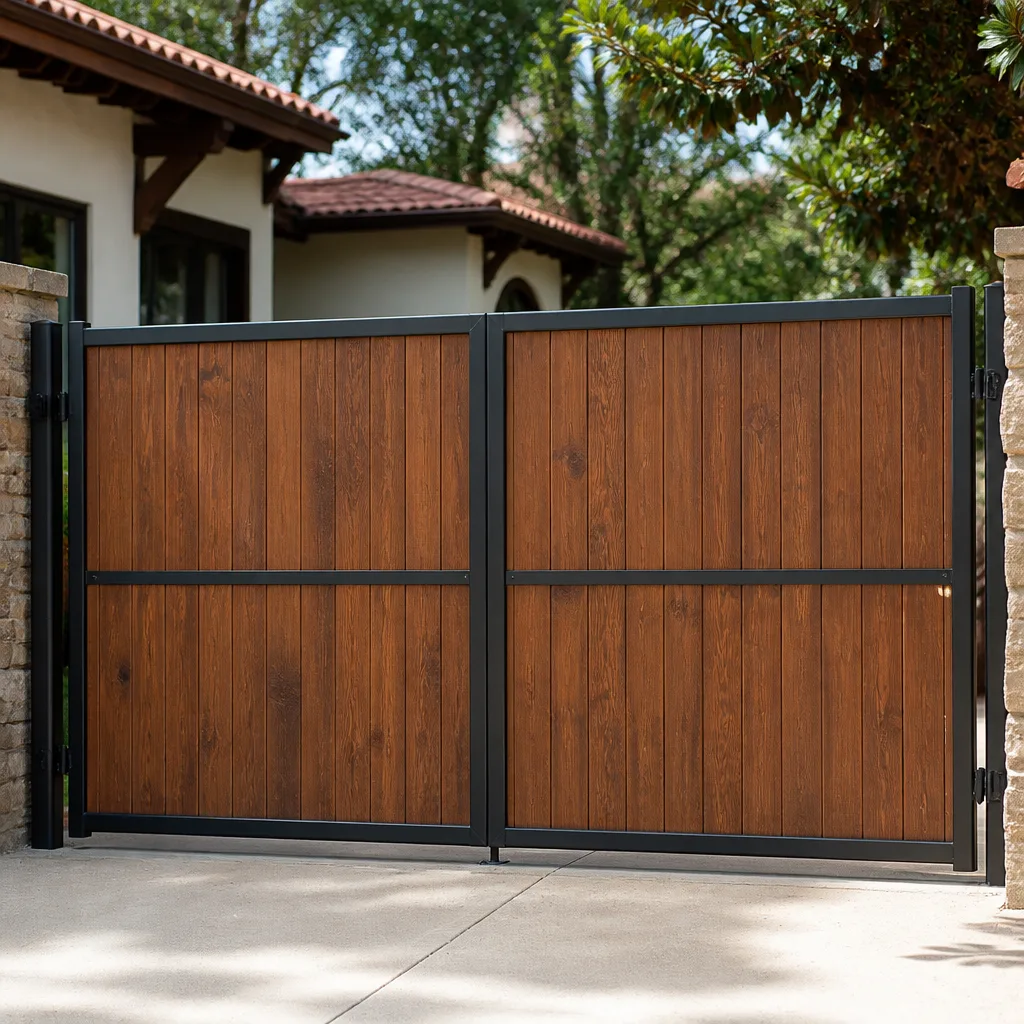 Wood & steel frame
 Sliding driveway gates
Free on-site gate assessment - hinges, posts, and your LiftMaster or Nice gate operator checked before anything is quoted
The assessment is free and the quote is the invoice.
Get your free estimateGate Repair Warning Signs: A San Antonio Homeowner’s Reference Guide
Here’s a fact that surprises most San Antonio homeowners: your gate has been telling you it’s failing for weeks, maybe months, before it actually stops working. The average gate opener motor doesn’t die suddenly. It degrades in observable stages, and each stage produces a specific warning sign you can catch. A gate that reverses for no visible reason isn’t malfunctioning randomly. It’s telling you the obstruction-force sensor is drifting, which is a $150 calibration fix today and a burned-out motor in six weeks if you ignore it. This guide walks you through the five pre-failure behaviors we see most often in San Antonio, ranked by urgency, with plain-language explanations of what’s actually happening inside your opener. By the end, you’ll know which warning signs need a same-week call, which ones you can monitor for a month, and how to document what your gate is doing so a technician can assess it from a video before ever rolling a truck.
Quick Answer
Most gate failures in San Antonio announce themselves through five observable warning signs: grinding on close, intermittent remote response, sagging at the latch point, slow cycle speed, and erratic reversals. Catching these signs early typically means a $150 – $300 adjustment or minor part replacement instead of a $900+ emergency motor replacement. Grinding and erratic reversal are the two you should act on fastest – both indicate mechanical or sensor issues that compound quickly in San Antonio’s caliche soil and summer heat.
Styles & brands we work with
Table of Contents
- Grinding on Close: The Most Urgent Warning Sign
- Intermittent Remote Response: Logic Board or Hardware?
- Gate Sagging at the Latch Point: A Caliche Soil Story
- Slow Cycle Speed: What Your Opener Is Trying to Say
- Erratic Reversals: The Sensor Problem Nobody Diagnoses
- DIY-Safe vs. Professional-Only: Where the Line Is
- How to Document a Failing Gate: A Photo and Video Guide
- Common Mistakes to Avoid
- When to Call a Professional
- Frequently Asked Questions
Grinding on Close: The Most Urgent Warning Sign
When a gate makes a grinding, scraping, or metal-on-metal sound as it closes, that is not a noise to live with. It is the sound of a mechanical component wearing against something it should not be touching. In most cases, you are hearing one of three things: a drive rail that has shifted out of alignment, a chain or belt that has lost tension and is dragging, or a wheel or roller that has seized and is now being dragged across its track instead of rotating.
Here is what makes grinding on close the most urgent of the five warning signs: the friction that creates the noise also creates heat, and heat kills gate opener motors faster than anything else. Picture the motor as a runner. A normal cycle is a jog around the block. A grinding cycle is a jog while dragging a tire behind you. The motor compensates by pulling more current, which generates heat in the windings, which degrades the insulation, which eventually causes a short. That short is the $900 repair. The grinding you heard for six weeks was your chance to avoid it.
In our experience across San Antonio neighborhoods from Alamo Heights to Stone Oak, grinding on close is most often misdiagnosed by homeowners as a need for lubrication. WD-40 gets sprayed, the noise quiets for two days, and the underlying misalignment continues to chew through whatever component was wearing. The proper fix is a mechanical correction, not a spray.
What to do: If your gate grinds on close, stop cycling it unnecessarily. Every additional cycle adds wear. Record a 10-second video of the gate closing from the side where the noise is loudest, then call for an assessment. At Calder Gate Repair, we can often identify the likely culprit from that video alone and give you a written estimate before we arrive through our Gate Repair services. That estimate covers the correction, whether it’s a rail realignment, a chain re-tension, or a roller replacement. The price you get is the price you pay, agreed in writing before any work starts.
Intermittent Remote Response: Logic Board or Hardware?
The second warning sign on our urgency list is a remote that works sometimes and not others. You press the button three feet from the gate and nothing happens. You press it again and the gate opens. Most homeowners assume the remote battery is dying. Half the time they’re right. The other half, the remote is fine and the receiver or logic board inside the opener is developing a fault that will eventually become a dead gate.
Here is the 60-second test that separates the two scenarios, and you can run it without any tools. First, press and hold the remote button from ten feet away. If the gate responds but only after a delay, that points to a receiver issue. If the gate does not respond at all from ten feet but works from your kitchen window, that points to a signal strength problem, which is usually an antenna or receiver placement issue. Second, and this is the key diagnostic move: try the wall-mounted or keypad control, which bypasses the radio signal entirely. If the wall control opens the gate every single time, the motor and drive system are fine and the problem lives in the radio receiver, the remote, or the logic board that interprets the remote signal. If the wall control is also intermittent, the issue is deeper, usually in the main control board or the power supply.
Why does this distinction matter? Because a remote-only intermittent fault is usually a receiver or remote replacement, and those are the cheapest repairs we do, typically $120 – $250 depending on the brand. A wall-control intermittent fault suggests a control board issue, and boards for brands like Linear, Viking, Ghost Controls, and DoorKing can run $300 – $600 for the part alone. Catching the remote-only version early, before the board gets dragged into it, saves real money.
Brand-Specific Notes
If you own a Linear opener, pay attention to how long the gate waits before responding to the remote. Linear receivers of a certain vintage have a known capacitor aging issue that presents as a one-second delay before response. That delay is your warning sign. If you run a Ghost Controls system, intermittent response often traces to the receiver antenna getting pinched or corroded at the housing. Viking and DoorKing boards are more robust to heat but less forgiving of power surges, so if your intermittent response started after a thunderstorm, mention that when you call. It changes the diagnostic path.
Gate Sagging at the Latch Point: A Caliche Soil Story
A gate that sags at the latch point, the free end opposite the hinges or the opener post, is a structural warning sign masquerading as a cosmetic one. The gate still opens and closes, it just looks a little droopy and doesn’t quite meet the latch the way it used to. In San Antonio, there is a specific reason this warning sign appears so often, and it’s not what most people think.
The soil in and around San Antonio is rich in caliche, a hardened, calcium-carbonate-heavy layer that sits beneath the surface soil and behaves differently from the soil around it. Caliche expands and contracts with moisture changes, and it does not do so evenly. A gate post set in or near caliche can shift over a dry-wet cycle by more than most people realize, and when the post shifts, the gate shifts with it. The result is a gate that sags at the open end by a quarter-inch, then a half-inch, then an inch. By the time you notice it visually, the post has often moved enough that the opener is now fighting an angle it was never designed to handle.
This is the warning sign where the weather gets a vote. San Antonio’s pattern of long dry stretches followed by sudden heavy rain is a caliche heave factory. See our Seasonal Gate Repair Care for San Antonio: Year-Round Homeowner’s Guide for maintenance timing. A post that was solid through the drought can shift within a single wet week. And once the gate sags at the latch point, two things happen in sequence: first, the latch or lock starts to bind, which adds resistance to the close cycle. Second, the opener motor compensates for that resistance by working harder, which shortens its life. A sagging gate is not just a security issue, it’s an early warning that your opener is about to be overworked.
The fix here depends on how early you catch it. A quarter-inch sag can often be corrected with a hinge adjustment and a re-shim of the post base, a $150 – $275 job including the service call. A post that has actually shifted in the soil needs to be re-set, which is a bigger job, typically $400 – $700 depending on access and whether concrete is involved. The takeaway is this: the moment you notice your gate not meeting the latch cleanly, document it. A photo of the gap at the latch point, taken from the same angle every week, tells you whether the sag is stable or progressive. Progressive sag means call now. Stable sag means you have time to schedule on your terms.
For more on the mechanical side of what a sagging gate does to your hardware, our San Antonio gate repair guide walks through the full inspection checklist we use on every service call.
Slow Cycle Speed: What Your Opener Is Trying to Say
A gate that takes noticeably longer to open or close than it did when it was installed is not “just getting old.” It is reporting a measurable change in its operating conditions, and the change is almost always one of three things: reduced motor output, increased mechanical resistance, or a control board that is no longer sending full voltage to the motor.
Here is how to tell the difference, and it comes down to consistency. If your gate is slow on every single cycle, both opening and closing, and it has been getting progressively slower over months, you are most likely looking at a motor that is losing output as its windings degrade from heat exposure. This is the slow-burn failure mode, and San Antonio summers are brutal on it. An opener installed on an unshaded west-facing post can experience surface temperatures well above 120 degrees in August, and that heat accelerates the breakdown of motor insulation even when the gate is not running. A slow but consistent cycle is your motor telling you it is working at partial capacity.
If the slow speed comes and goes, or if it is worse on cold mornings or after rain, think mechanical resistance. Gates in San Antonio sit on tracks and rollers that collect caliche dust, and that dust grinds against moving parts. Temperature changes make metal components expand and contract, which can turn a tight clearance into a binding point on a cold morning. A track that is clean and a roller that turns freely means low resistance. A track that is gritty and a roller that drags means high resistance, and the fix is often a cleaning and lubrication, not a motor swap.
And then there is the control board scenario. Some brands, including DoorKing and Viking systems, use a variable speed output that the board manages. A failing board can deliver reduced voltage to the motor, which presents as a uniformly slower cycle with no obvious mechanical cause. This is the one scenario where a homeowner cannot see the problem from the outside, because everything looks clean and moves freely. The only confirmation is a voltage reading at the motor terminals, which is a technician’s job.
What to do: Use your phone. Record a cycle today and compare it to what you remember from installation. If the gate takes more than twice as long as it used to, or if the cycle time has increased by 50% or more, call before the motor burns out entirely. A motor that is slow but still running is often repairable. A motor that has seized is a replacement. The price difference is significant.
Erratic Reversals: The Sensor Problem Nobody Diagnoses
A gate that reverses direction mid-cycle, opening when it should be closing or stopping and backing up for no visible reason, is the warning sign that confuses the most homeowners. There is nothing in the gate’s path. The remote is new. The gate is only a few years old. Yet it behaves like it’s possessed.
Here is what is actually happening, in plain language. Your gate opener has a safety system designed to detect when the gate hits something, a child, a dog, a trash bin, and reverse direction to prevent injury. That system uses a sensor, called an obstruction-force sensor or a current sensor depending on the brand, that monitors how hard the motor is working. When the motor suddenly has to work harder, the sensor interprets that as an impact and triggers a reverse.
The problem is that the sensor does not know the difference between a real obstruction and a gate whose mechanical condition has changed. A gate hinge that has gotten stiffer, a track that has collected debris, a wheel that has started to drag, all of these increase the motor’s workload, and when that workload crosses the sensor’s threshold, the gate reverses. The homeowner sees a gate that backs up for no reason. The reality is that the sensor is working exactly as designed, and it is reporting a mechanical problem that has not yet become visible or audible.
There is a second scenario too, and this one is more common than most people realize: sensor drift. Obstruction-force sensors are adjustable, and they are calibrated at installation. Over years of heat cycles, that calibration can drift. When it drifts too far, the sensor becomes hypersensitive and triggers reversals on a gate that is mechanically fine. This is a calibration issue, and on most Linear and Ghost Controls systems, recalibrating the obstacle detection is a standard service item, typically $150 – $200 including the visit.
The diagnostic path here matters. If your gate reverses erratically, the first question is whether the reversal happens at the same point in the cycle every time. Same point every time: that is a mechanical obstruction or a binding point at that specific location, and the fix is mechanical. Random point, no pattern: that points to sensor calibration or a failing sensor, and the fix is electrical. Telling your technician which one you are experiencing saves a diagnostic hour, and an honest technician will price accordingly.
DIY-Safe vs. Professional-Only: Where the Line Is
We are a gate repair company, which means our default answer is “call us.” But we also believe homeowners should know which tasks they can safely handle themselves and which ones they absolutely should not. For more guides & resources, see our blog. Here is the honest breakdown.
DIY-Safe Tasks
- Cleaning the track and rollers. A stiff brush and a shop vac will remove the caliche dust and debris that causes binding. Wipe the track clean and inspect the rollers for any that do not spin freely.
- Lubricating hinges and pivot points. Use a silicone-based lubricant, not WD-40 and not grease, on hinge pins and moving joints. Grease attracts San Antonio dust and turns into a grinding paste.
- Checking and tightening visible bolts. Walk the gate and the post mounts with a wrench. Any bolt that turns easily was about to cause a problem.
- Replacing remote batteries. Start here every time. It’s the cheapest diagnostic step and it solves a surprising number of intermittent issues.
- Visual inspection of the power supply. Check that the opener is plugged in, the outlet works, and the breaker is not tripped. You would be surprised how often a “dead gate” is a tripped GFCI.
Professional-Only Tasks
Anything involving the motor capacitor. A capacitor stores electrical charge even after the power is disconnected, and a charged capacitor can deliver a serious shock. This is not a caution, it’s a warning: do not open the motor housing or touch the capacitor terminals. Call a licensed technician.
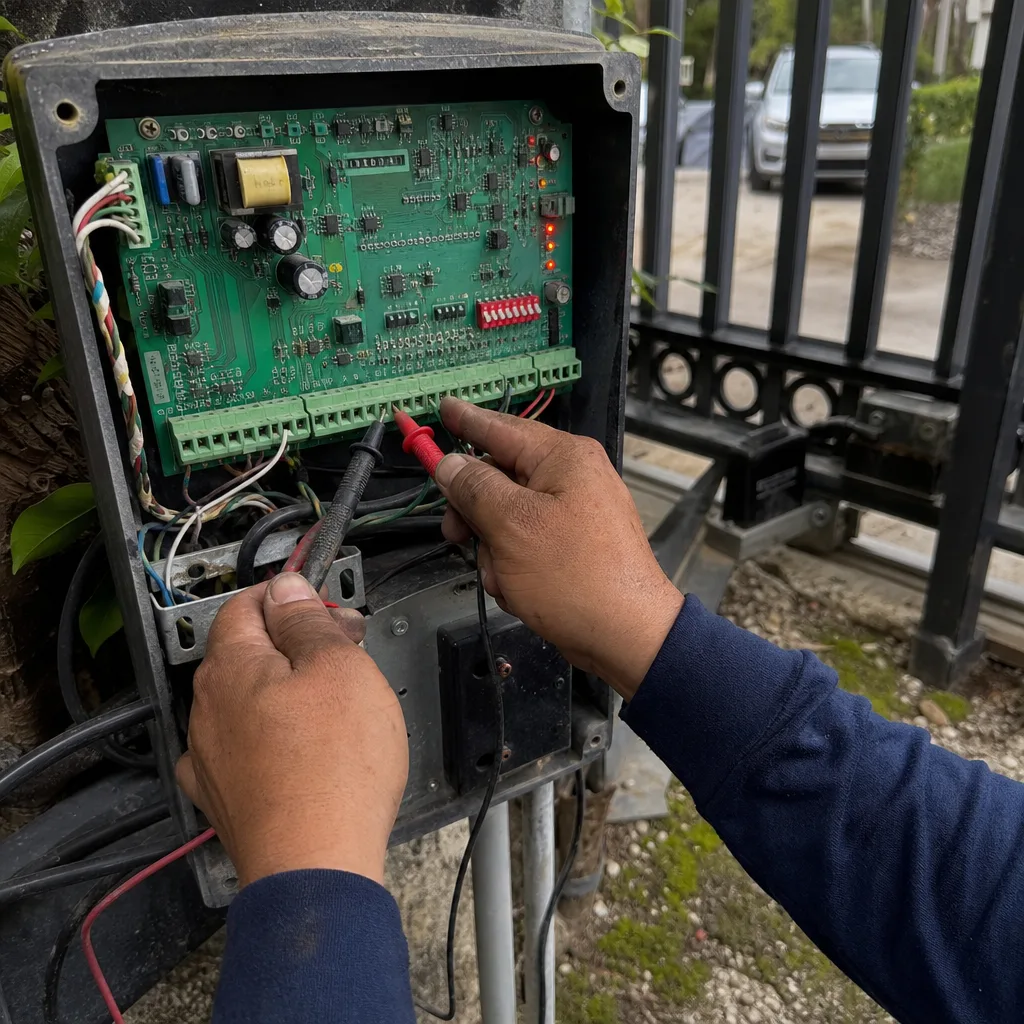
Any work on the control board wiring. Control boards on modern gate openers carry low voltage but they are connected to power supplies that do not. A wrong wire touched to the wrong terminal can fry a board that costs hundreds of dollars to replace, and it can also create a fire hazard. If you are not certain which wire is which, the board is off-limits.
Spring or tension adjustments. Some mechanical gate systems use tensioned components that can release stored energy suddenly. A gate spring under tension is a serious injury risk. This is not a place to experiment.
The line is simple: if the fix involves cleaning, checking, tightening, or observing, it’s DIY-safe. If the fix involves opening a housing, replacing a component inside the motor or control box, or adjusting anything under tension, call someone who does this professionally, every day, with the training and insurance to match. For San Antonio homeowners who want a full picture of what professional service covers, our electric gate repair page explains our process step by step.
How to Document a Failing Gate: A Photo and Video Guide
One of the most useful things a San Antonio homeowner can do before calling about a gate issue is document it properly. A good video can replace a diagnostic visit in many cases, and in our experience, it leads to faster, more accurate estimates and less back-and-forth.
Here is the documentation protocol we recommend, and it takes about three minutes total:
- Record the full cycle from a fixed position. Stand ten feet back from the center of the gate and record it opening and closing completely. Hold the phone steady. This video tells us whether the gate travels smoothly, where it hesitates, and how fast it moves.
- Record the noise up close. Repeat the cycle but this time walk alongside the gate with the phone near the track and hinge line. The microphone will pick up grinding, scraping, or clicking sounds that indicate where the problem lives.
- Photograph the latch point and the gap. Take three photos: the latch from the front, the gap at the latch point from the side, and the hinge or opener post from above if you can. These show alignment issues and sag clearly.
- Photograph the opener unit. One clear photo of the make and model label, plus any visible wiring or visible damage. The label tells us the brand and model, which tells us the parts availability before we arrive.
- Note the symptom pattern in writing. When does it happen? Every cycle or sometimes? Hot days or cold? After rain? The more specific you are, the faster we can narrow the cause.
Send this to whichever gate company you call. A good technician will look at it before arriving and come prepared with the likely parts. A technician who ignores it or insists on a site visit without even looking is a technician who is going to charge you for the diagnostic time they could have saved. See How to Hire a Gate Repair Contractor in San Antonio: A Step-by-Step Guide to know what to expect. At Calder Gate Repair, we review every video and photo before confirming any visit, and we use what we see to set expectations on price and timeline before we ever roll a truck.
If the issue is with your opener specifically rather than the gate structure, our gate opener repair guide covers the diagnostic process for that side of the system.
Common Mistakes to Avoid
- Spraying lubricant on a grinding gate and calling it fixed. Silicone spray quiets a binding component for a day or two, but the underlying misalignment or failed roller is still there, still wearing, and still heating up your motor. Lubrication is maintenance, not repair.
- Ignoring a slow cycle because “it still works.” A gate that takes twice as long to open is a gate whose motor is working twice as hard. That is not an aesthetic issue, it’s a heat issue, and heat is what kills motors in San Antonio’s climate.
- Assuming the remote battery is the problem every time. Remote batteries are the most common fix, but they’re not the only one. If you’ve replaced the battery and the problem continues, the receiver or control board is likely involved. Continued battery replacement just delays the real diagnosis.
- Adjusting the obstruction-force sensor yourself without documentation. Some sensors are adjustable, and a homeowner can technically turn a screw. But adjusting force sensitivity in the wrong direction can disable the safety reverse, which is a genuine safety issue for kids and pets. If you don’t have the manual and the equipment to test the force settings, don’t touch it.
- Delaying a sagging latch point because “it still latches.” By the time a sagging gate stops latching altogether, the post has shifted enough that the repair is no longer an adjustment, it’s a re-set. Catching sag at the quarter-inch stage saves you hundreds of dollars.
- Only calling during a complete failure. Emergency service calls cost more because they require immediate dispatch and often after-hours work. The warning signs in this guide are your opportunity to schedule on your terms, during normal hours, at normal rates.
When to Call a Professional
Some gate warning signs should trigger a same-day or next-day call. Grinding on close, especially if the noise is getting louder or sharper, is a same-week priority. Erratic reversals that have no pattern point to a sensor or board issue that will likely strand your gate in the open or closed position soon. A gate that fails to respond to both the remote and the wall control is a full system failure in progress. And any issue involving the motor capacitor, exposed wiring, a burning smell, or visible smoke is an immediate call, with the power shut off at the breaker in the meantime.
San Antonio homeowners who catch these signs early typically pay $150 – $300 for the corrective work. Homeowners who wait until the gate stops moving pay $700 – $1,200 for motor replacement, board replacement, or post re-setting. The math is not subtle. Calder Gate Repair San Antonio offers free estimates throughout the San Antonio area, call (361) 314-4803 and a live person, not a voicemail system, will pick up.
Frequently Asked Questions
Most gate repairs in San Antonio run between $150 and $600 depending on the issue. Minor fixes like sensor recalibration, hinge adjustments, and remote or receiver replacement typically fall in the $150 – $300 range. Board replacements, motor replacements, and post re-setting run $400 – $1,200. The written price Calder Gate Repair gives you before any work starts is the price you pay, parts and labor included, never a surprise on the back end. Call (361) 314-4803 for a free estimate on your specific issue.
Yes. Most repair issues, including sensor calibrations, remote and receiver replacements, and mechanical adjustments, are same-day jobs when called in before early afternoon. Board and motor replacements may require a parts pickup or delivery, which can push the job to the next day depending on brand and availability. Calder Gate Repair keeps common parts in stock for Linear, Ghost Controls, and DoorKing systems, which speeds up most San Antonio repairs.
Run the 60-second test: use the wall-mounted or keypad control. If the gate opens and closes normally from the wall control, the problem is in the remote, the receiver, or the radio signal path. If the wall control is also slow, intermittent, or unresponsive, the issue is in the opener motor, drive system, or control board. This test separates the electrical signal problem from the mechanical drive problem in under a minute.
A gate that reverses with no visible obstruction is usually reporting increased mechanical resistance through its safety sensor. Stiff hinges, dirty tracks, or dragging rollers increase the motor’s workload, and the sensor reads that increase as an impact. Sensor calibration drift over years of San Antonio heat cycles is the second common cause. Both are repairable; neither requires a new opener.
Homeowners insurance typically covers gate damage from covered events like storms, vehicle impact, or vandalism, but not mechanical wear and tear or opener failure. If a falling limb takes out your gate, that’s a claim. If your nine-year-old motor burns out from heat and friction, that’s a repair expense. Your policy details will vary, so check with your agent. What Calder Gate Repair can do is provide documentation, photos, and an itemized estimate for the insurance process if you do file a claim.
We are factory-familiar with nine major brands: LiftMaster, FAAC, BFT, Linear, Viking, Ghost Controls, DoorKing, Elite, and Mighty Mule. If your opener is one of these, and most homeowner openers in San Antonio are, we can diagnose and repair it. Each brand has its own failure patterns and parts ecosystem, and knowing those patterns means faster diagnosis and fewer return trips.
The Bottom Line
Your gate tells you when it is in trouble. Grinding on close is a mechanical failure in progress. Intermittent remote response is a signal path problem that only gets worse. Sag at the latch point is caliche soil shifting your post, and San Antonio’s soil does not stop shifting. Slow cycles mean a motor under strain. Erratic reversals mean a sensor doing its job and flagging a problem you can’t see yet. Learn to read the signs, act on the two urgent ones fast, and you’ll pay adjustment money instead of replacement money. That’s the whole game, and Calder Gate Repair San Antonio is built for it: written prices before work starts, a written guarantee on every repair, and a free return visit if the repair fails within 365 days.
Written by Nico Alvarez, Owner at Calder Gate Repair San Antonio, serving San Antonio since 2009.
See the difference
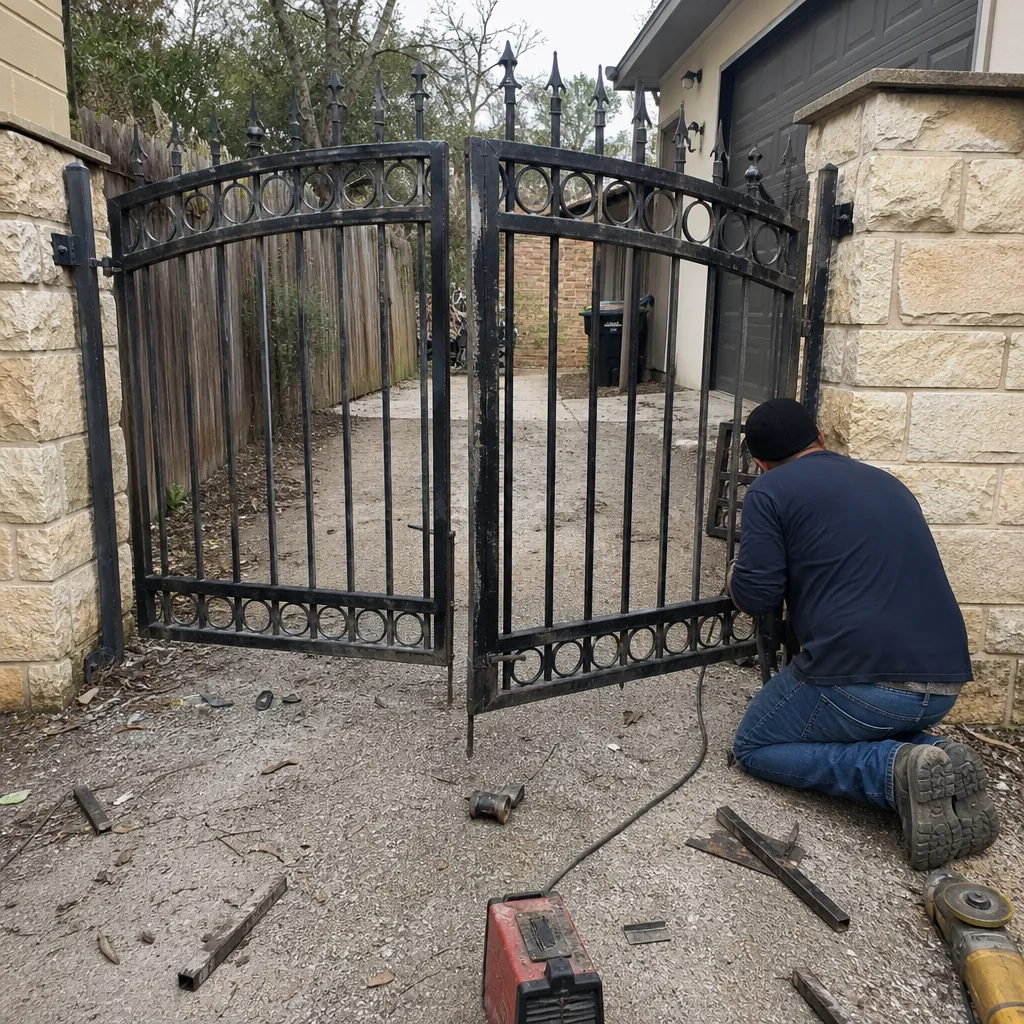 Before
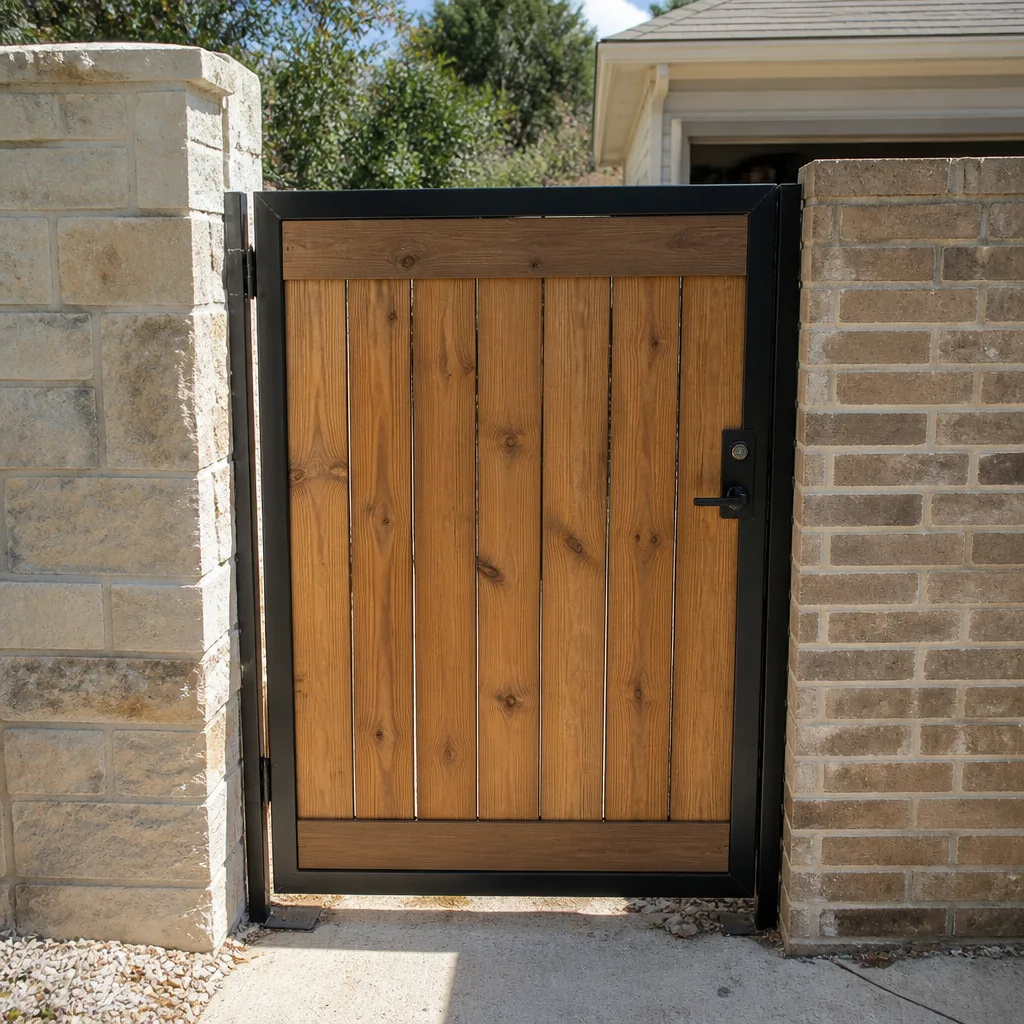 After
After Before
 After
After Before
 After
After