
Last updated October 16, 2026
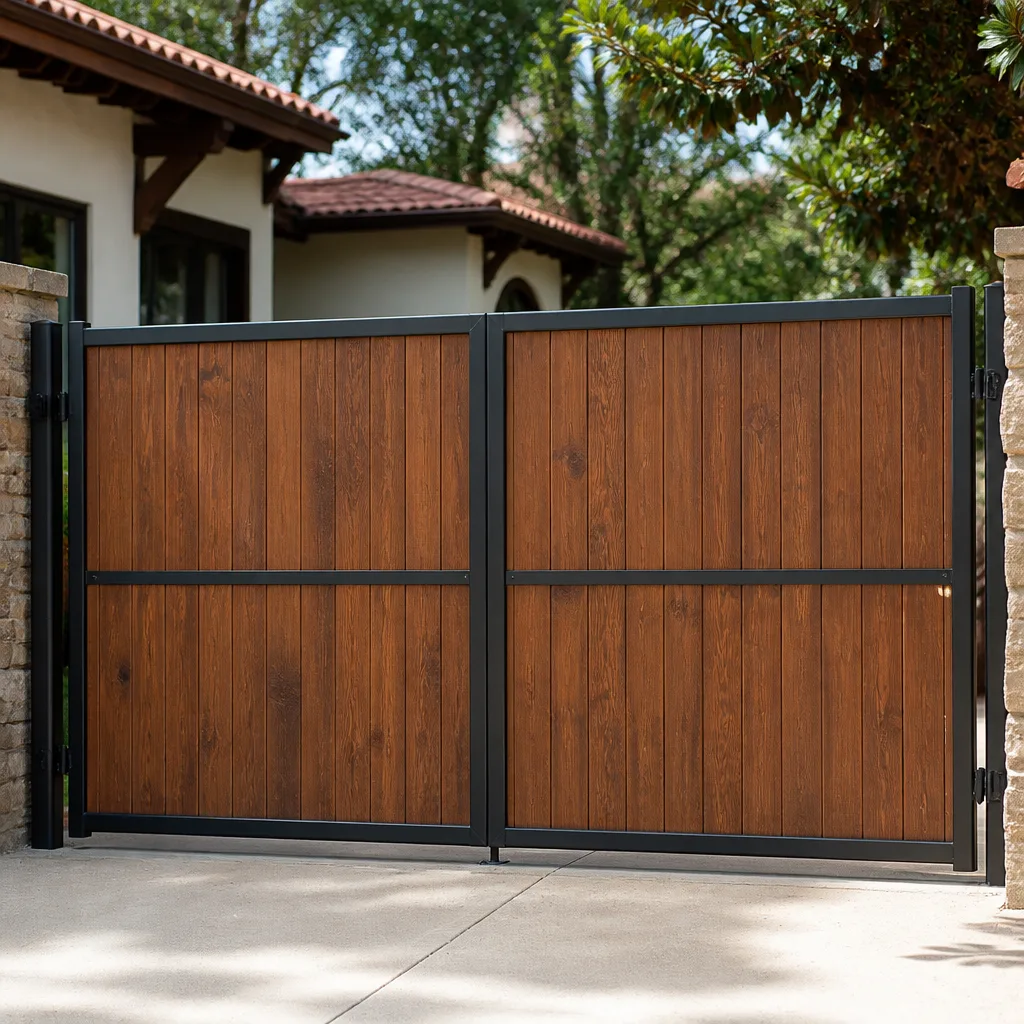 Wood & steel frame
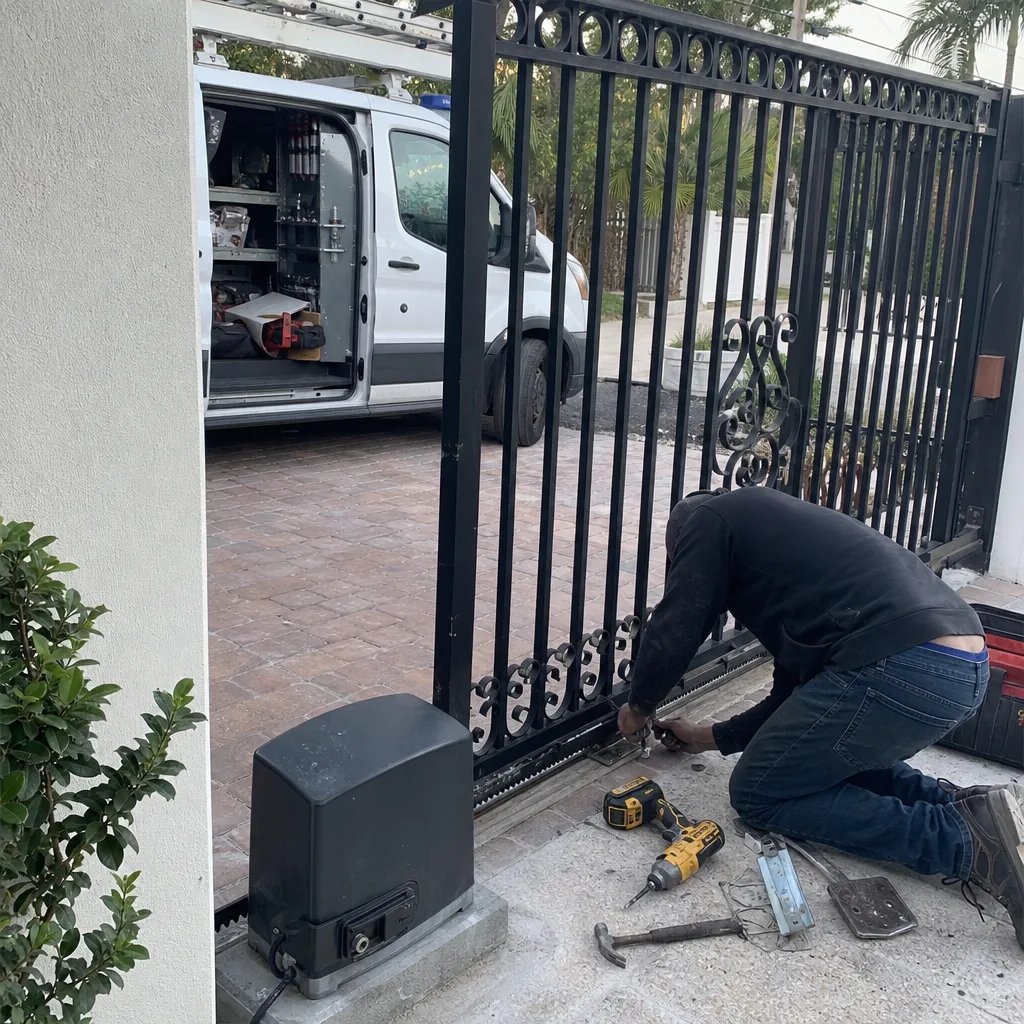
 Sliding driveway gates
Free on-site gate assessment - hinges, posts, and your LiftMaster or Nice gate operator checked before anything is quoted
The assessment is free and the quote is the invoice.
Get your free estimateGate Repair Maintenance Checklist for San Antonio Homeowners
Here’s the thing most national gate maintenance guides won’t tell you: San Antonio’s sun and water do things to gate hardware that Phoenix and Dallas checklists never account for. The single most skipped item on any gate maintenance list, wiping photo-eye lenses, is also the one that causes roughly 30% of “my gate stopped working” service calls. That’s a $150+ service visit for what is essentially a two-minute wipe with a dry cloth. This guide is built for San Antonio specifically. We’re going to walk through a maintenance routine organized by time commitment, explain why our hard water eats hinge hardware faster than you’d think, and show you exactly what to document so a warranty claim never gets denied because you couldn’t prove you maintained the opener.
Styles & brands we work with
Quick Answer
A functional San Antonio gate maintenance routine comes down to three commitments: wipe photo-eye lenses and check obstruction-force settings monthly, lubricate hinges and rollers every six months with a lithium or PTFE-based product that resists our mineral-heavy water, and log every task with a date and photo. Homeowners who follow this simple rhythm avoid most opener failures we see across the city and keep their warranty paperwork airtight.
Table of Contents
- What Physically Happens to Gates in San Antonio
- The 15-Minute Monthly Walkaround
- The Semi-Annual Deep Service (Do This in October and March)
- The One Warranty-Voiding Check: Obstruction-Force Settings
- San Antonio Hard Water and Your Gate Hinges
- UV Damage: Photo-Eyes, Wiring, and Powder Coat
- The Printable Sign-Off Log (And Why It Matters)
- Common Mistakes to Avoid
- When to Call a Professional
- Frequently Asked Questions
- The Bottom Line
What Physically Happens to Gates in San Antonio
Before we get to the checklist itself, you need to understand the two local forces working against your gate. San Antonio’s climate is not neutral. It’s actively hostile to gate hardware in specific, predictable ways.
First, ultraviolet radiation. San Antonio averages a UV index of 8 to 11 through the summer months, which is classified as “very high” to “extreme” by the EPA. That level of exposure breaks down plastic photo-eye housings, makes wiring insulation brittle, and fades powder-coat finishes faster than you’d think. We regularly replace photo-eyes on gates that are only four or five years old because the lens has clouded over so badly the beam can’t transmit. That’s a UV problem, not a manufacturing defect.
Second, water chemistry. San Antonio water hardness averages around 357 parts per million, which puts it firmly in the “very hard” category. When irrigation spray hits your gate hinges or when rain carries mineral-rich runoff down the gate frame, that water evaporates and leaves behind calcium and iron deposits. Those deposits act like sandpaper inside the hinge barrel. They also trap moisture against the steel, which is why we see hinge pins rust from the inside out even when the outside looks fine.
A generic gate maintenance list ignores both of these factors. This one puts them at the center.
The 15-Minute Monthly Walkaround
This is the routine that prevents most of the gate repair calls we make in San Antonio. Set a phone reminder for the first weekend of the month. You’ll need a dry microfiber cloth, a flashlight, and about fifteen minutes. That’s the entire tool list.
Here’s the exact order to follow:
- Wipe both photo-eye lenses. The photo-eyes are the two small sensors mounted near the ground on either side of the gate opening. One sends an infrared beam, one receives it. Dust, irrigation overspray, and hard water spots cloud the lens. A dry wipe takes ten seconds. This single step prevents more “the gate won’t close” calls than anything else on this list.
- Check the gate’s travel path. Walk the full arc of the gate. Look for cracked concrete from soil movement, tree roots pushing up, or a sprinkler head that now sprays directly at the gate frame. San Antonio’s clay soil expands and contracts with rainfall, which shifts gate posts over time. A gate that was perfectly aligned in January can be dragging by August.
- Listen while the gate runs. Press the remote and stand next to the opener. A smooth hum is normal. A grinding, knocking, or hesitation mid-travel means something is binding. Note where in the travel the sound occurs. That detail saves a technician diagnostic time if the problem escalates.
- Test the reverse mechanism. This is the safety feature that stops the gate if something is in its path. Place a small object like a rolled-up towel in the gate’s path and close it. The gate should reverse within one second of contact. If it doesn’t, stop using the gate and call a professional. A gate that fails this test can seriously injure a child or pet.
- Check the warning signs and keypad. Make sure the warning signs required by the gate’s UL 325 listing are still attached and legible. Test the keypad buttons for responsiveness. If any button sticks or requires multiple presses, plan to replace the keypad before it fails completely.
We’ve built this exact walkaround for homeowners across San Antonio, from Alamo Heights to Stone Oak to Helotes, and it catches about 80% of emerging problems before they become breakdowns. The photo-eye wipe alone is worth the fifteen minutes.
The Semi-Annual Deep Service (Do This in October and March)
Twice a year, you’ll want to spend about an hour on deeper maintenance. We recommend October and March because those months bracket San Antonio’s two most demanding seasons: the summer UV and heat cycle, and the winter-plus-spring rain cycle with its temperature swings.
Here’s the deeper checklist:
- Lubricate the hinge points. Use a dry PTFE or white lithium lubricant, never WD-40. WD-40 is a solvent, not a lubricant, and it leaves a film that attracts dust. Spray the hinge pins, the gate wheel if you have one, and any pivot points on the opener arm. Wipe excess so it doesn’t drip onto concrete.
- Inspect the chain or belt on the opener. If you have a chain-drive operator, check for sagging. A chain that’s too loose will slip teeth and cause jerky movement. If you have a belt drive, look for cracks or fraying. Both issues require tension adjustment, which is a straightforward fix for a trained technician.
- Check all wire connections. Look at the low-voltage wiring running from the opener to the photo-eyes, keypad, and loop detector if you have one. San Antonio’s summer heat hardens the insulation. If you see cracks, exposed copper, or white corrosion at any connection point, that wire needs to be spliced or replaced before it shorts out.
- Tighten every visible bolt and mounting screw. Vibration from thousands of open-close cycles loosens fasteners. Walk the gate with a socket wrench and check the hinge bolts, the opener mounting plate, and the gate wheel bracket. A loose hinge bolt puts extra stress on the opener motor and shortens its life.
- Clean the control board area. Fire ants love gate control boxes. They nest inside the enclosure, their bodies create short circuits across the board terminals, and the result is a fried control board. Open the enclosure (with power off at the breaker) and blow out any debris with compressed air. Check for ant trails leading up the post.
If this list feels like more than you want to tackle, we handle semi-annual gate maintenance through our Gate Repair services as a scheduled service. Our techs document everything with before-and-after photos so you have a record. But doing it yourself is absolutely possible with basic tools.
The One Warranty-Voiding Check: Obstruction-Force Settings
Every automatic gate opener sold in the United States carries a UL 325 listing that requires the gate to stop and reverse when it encounters a certain amount of force. The manufacturer sets that force threshold at the factory, but the settings live in the control board and can drift or get changed accidentally.
Here’s what most homeowners don’t know: if you use the emergency manual release to open the gate by hand, and then re-engage the opener, the obstruction-force calibration can shift. This is true on DoorKing, LiftMaster, and Mighty Mule openers alike. The control board remembers its last known position, and a manual override confuses that logic. You end up with a gate that pushes too hard before reversing, which is both a safety hazard and a warranty violation.
The fix is simple. After any manual override, run the gate through one full open-and-close cycle under power. Then test the reverse mechanism with a rolled-up towel as described in the monthly walkaround. If it reverses correctly, you’re fine. If it hesitates or doesn’t reverse, the force settings need to be recalibrated. On most openers, this is a two-button procedure in the control board menu that a technician can complete in under ten minutes.
We mention this because it’s the most commonly skipped check that directly voids opener warranties. Manufacturers ask for proof of maintenance when you file a warranty claim for a failed motor or control board. If you can’t show that you tested the obstruction-force settings, the claim gets denied. This single check is worth documenting every time.
San Antonio Hard Water and Your Gate Hinges
The average hardness of San Antonio municipal water is 357 ppm. To put that in perspective, anything above 180 ppm is classified as “very hard” by the U.S. Geological Survey. We’re nearly double that threshold.
What that means for your gate specifically: any water that touches your hinge hardware is carrying dissolved calcium and magnesium. When the water evaporates, those minerals stay behind as a gritty white scale. That scale works its way between the hinge pin and the hinge barrel, creating friction. Over months of open-close cycles, the scale grinds down the metal surfaces, which accelerates wear and creates play in the hinge. Once a hinge develops play, the weight of the gate shifts, which then stresses the opener motor. A gate that was quiet and smooth starts to sound like it’s dragging a box of rocks.
There’s also the iron problem. San Antonio water contains dissolved iron, especially in neighborhoods that draw from the Edwards Aquifer through older lines. When iron-rich water dries on steel or iron hinges, it doesn’t just leave scale. It creates the exact electrochemical conditions for pitting corrosion. We’ve pulled hinge pins out of gates in San Antonio gate repair jobs that look solid on the outside but are deeply pitted under the surface. That’s water chemistry at work.
The countermeasure is lubrication discipline. Use a PTFE-based lubricant, which resists water washout better than most alternatives. White lithium works too and is easier to find at any auto parts store. Apply it to the hinge pin seams, the gate wheel bearing, and the opener arm pivot every six months. In areas where irrigation spray directly hits the gate, like homes with flower beds planted along the fence line, apply every three months instead.
If you have a gate on an irrigation zone, consider adjusting your sprinkler heads so they don’t spray the gate hardware directly. That’s a free fix that adds years to your hinge life. If you can’t adjust them, the quarterly lubrication schedule is your answer.
UV Damage: Photo-Eyes, Wiring, and Powder Coat
San Antonio sits at about 29.4 degrees north latitude, which means we get intense direct sunlight year-round. The EPA’s UV index for San Antonio hits 11 or higher on multiple days every summer. That’s the top of the scale, the kind of exposure that’s associated with sunburn times under ten minutes.
Your gate feels this. The photo-eye housings are typically made from polycarbonate or ABS plastic. Both degrade under sustained UV exposure. The lens clouds, the housing becomes brittle, and eventually the infrared beam can’t pass through reliably. A clouded photo-eye makes the opener think there’s an obstruction in the path, so the gate refuses to close. It’s one of the most common electric gate repair issues we see in older San Antonio neighborhoods like Terrell Hills and Olmos Park, where gates were installed a decade ago and the original photo-eyes are now baked.
The inspection is visual and takes one minute. Look at the photo-eye lenses. If they’re yellowed, cracked, or hazy, replace them. Photo-eye replacement parts are inexpensive relative to the service call they prevent. If you’re not sure whether the clouding is bad enough to matter, wipe the lens with a dry microfiber and then run the gate. If it works after a wipe, the lens is the problem.
Wiring insulation fails the same way. Low-voltage wire running along the gate frame or underground to the keypad gets baked by direct sun where it’s exposed. The insulation cracks, moisture gets in, and you get intermittent shorts that are maddening to diagnose because they only happen after rain or in high humidity. Check exposed wiring every month. If you see cracking, wrap the affected section in electrical tape as a stopgap and schedule a proper splice.
Powder coat and paint fade too, but that’s cosmetic. The structural risk is on metal gates with scratches or chips that expose bare steel. Rain plus San Antonio’s mineral content plus bare steel equals rust. Touch up chips with a matching enamel or have a pro handle it if the damage is extensive.
The Printable Sign-Off Log (And Why It Matters)
Here’s the part most more guides & resources skip: documentation. You can do every task on this list correctly, but if you can’t prove it, two things happen.
First, warranty claims get denied. Every major gate opener manufacturer, including LiftMaster and DoorKing, includes language in their warranty that requires “proper maintenance” as a condition of coverage. If your motor burns out at month 22 of a 24-month warranty, the manufacturer will ask for proof that you maintained the unit. A sign-off log with dates and photos is exactly the evidence they’re looking for.
Second, insurance claims move faster. If a storm damages your gate or someone hits it with a car, your homeowner’s insurance adjuster will assess whether the damage was pre-existing or made worse by neglect. A maintenance log shows you did your part. That’s often the difference between a covered claim and a denied one.
Here’s the format we recommend. Keep it in a notes app on your phone or a sheet of paper taped inside the garage door panel:
- Date: The date you performed the maintenance.
- Tasks completed: Photo-eye wipe, lubrication, force test, etc.
- Observations: Any unusual sounds, movement issues, or visual damage.
- Photo: One photo of the gate, one of the photo-eyes, one of the control board area.
- Next scheduled maintenance: The date, usually next month or six months out depending on the task.
This takes ninety seconds per entry. Over two or three years, it builds into a record that protects you in exactly the situations where documentation matters. We’ve had customers avoid multi-thousand-dollar out-of-pocket costs because they could produce a simple log when their gate opener repair warranty claim required it.
Common Mistakes to Avoid
- Using WD-40 as a hinge lubricant. It’s a solvent and water displacer, not a lubricant. It strips whatever lubrication was there and leaves metal on metal. Use PTFE or white lithium.
- Ignoring a slow gate. A gate that moves slower than it used to is telling you something. It usually means the opener motor is working harder than it should, which shortens motor life. Slow is a symptom, not a quirk.
- Power-washing the gate and opener. High-pressure water forces its way into the control board enclosure, photo-eye housings, and electrical connections. We see this after every patio-cleaning season. Use a garden hose at normal pressure and keep it away from the opener box.
- Forgetting the manual release test. Most homeowners don’t know where their manual release is until the power goes out. Locate it, test it, and make sure everyone in the house knows how to use it. A gate stuck closed during a power outage is a safety issue.
- Planting fast-growing vines along the gate. Jasmine, honeysuckle, and ivy look nice and destroy gate hardware. The vines grow into the gate track, wrap around the photo-eyes, and their moisture accelerates rust. Keep foliage at least two feet from any moving gate part.
- Skipping maintenance until something breaks. Gates don’t fail suddenly. They fail gradually, with warning signs that go unnoticed because no one is looking. A functioning maintenance routine catches those signs early.
- Adjusting the force settings to “fix” a binding gate. When a gate starts binding, some homeowners turn up the force setting so it pushes through the resistance. That’s dangerous. It defeats the safety reversal and puts full stress on a motor that’s already straining. Fix the binding, don’t override the safety.
When to Call a Professional
Some maintenance tasks and most repairs are genuinely dangerous to attempt yourself. A gate that moves with enough force to injure someone contains high-tension springs and a motor with significant torque. If you notice any of these conditions, stop troubleshooting and call someone who does this work daily: the gate reverses inconsistently or fails the towel test, the opener motor hums but the gate doesn’t move, you see exposed or sparking wires, the gate has come off its track, or a hinge has visible play that causes the gate to sag. Each of these indicates a mechanical or electrical failure that can escalate unexpectedly. Calder Gate Repair San Antonio offers free estimates across the San Antonio area, and we walk you through the diagnosis before quoting anything. Call (361) 314-4803 if you’re seeing any of these symptoms.
Frequently Asked Questions
Do the 15-minute monthly walkaround every month and the semi-annual deep service every October and March. The monthly check catches photo-eye issues and basic problems early, while the semi-annual service handles lubrication, wiring inspection, and force-setting verification that a monthly check doesn’t cover. If your gate gets direct irrigation spray or sits in full sun all day, shift to quarterly lubrication instead of semi-annual.
A DIY maintenance routine costs about $15 to $25 for lubricant and microfiber cloths, which lasts the year. If you hire a gate company for a semi-annual service visit, expect to pay between $120 and $180 per visit depending on the gate size and number of operators. Calder Gate Repair San Antonio includes maintenance documentation and photos with every service, so you get a record for warranty purposes. Call (361) 314-4803 for a specific quote, estimates are free.
That’s almost always a photo-eye issue. The afternoon sun angle in San Antonio hits the photo-eyes directly, which can overwhelm the infrared receiver and make the opener think the beam is broken. The gate then refuses to close as a safety precaution. Wipe the lenses and check if they’re clouded. If the problem persists, the photo-eyes may need replacement or realignment.
Yes, the hinge points, gate wheel, and opener arm pivot are all homeowner-accessible lubrication points. Use a PTFE-based or white lithium product, never WD-40. The opener motor and internal gears are sealed and should not be opened or lubricated by hand. If you hear grinding from inside the opener housing, that’s a service call, not a lubrication task.
The manual release is a mechanism that disengages the gate from the opener motor so you can move it by hand. It’s typically a small lever or key-operated lock on the opener arm or post. Testing it confirms you can open the gate during a power outage or opener failure. It also matters because using the manual release can shift the opener’s obstruction-force calibration, which then needs to be re-verified.
Yes. San Antonio’s hard water (357 ppm average), extreme summer UV index (regularly hitting 8 to 11), and clay soil that shifts with moisture all create maintenance demands that milder climates don’t. For details on local requirements, see Gate Repair Permits, Codes & Inspections in TX: What You Need to Know. You need more frequent lubrication, closer photo-eye inspection, and periodic post alignment checks. A maintenance schedule built for Phoenix or Dallas won’t account for our water chemistry, which is why this checklist is structured around local conditions.
The Bottom Line
Maintaining an automatic gate in San Antonio isn’t complicated, but it is specific. The monthly photo-eye wipe, the semi-annual lubrication with a product that resists our hard water, and a documented log of every check are the three habits that keep your gate running reliably through our UV-heavy summers and mineral-rich irrigation seasons. Skip the generic checklists from national sites. This local routine addresses the actual factors that destroy gate hardware in our climate, and it protects your warranty and insurance interests at the same time. Fifteen minutes a month and one hour twice a year is all it takes. If you’d rather have a professional handle it, Calder Gate Repair San Antonio makes the process easy: a live arrival time, a written price before any work starts, and a 365-Day Done Right Promise on every repair. Call (361) 314-4803 for a free estimate.
Written by Nico Alvarez, Owner at Calder Gate Repair San Antonio, serving San Antonio since 2009.
See the difference
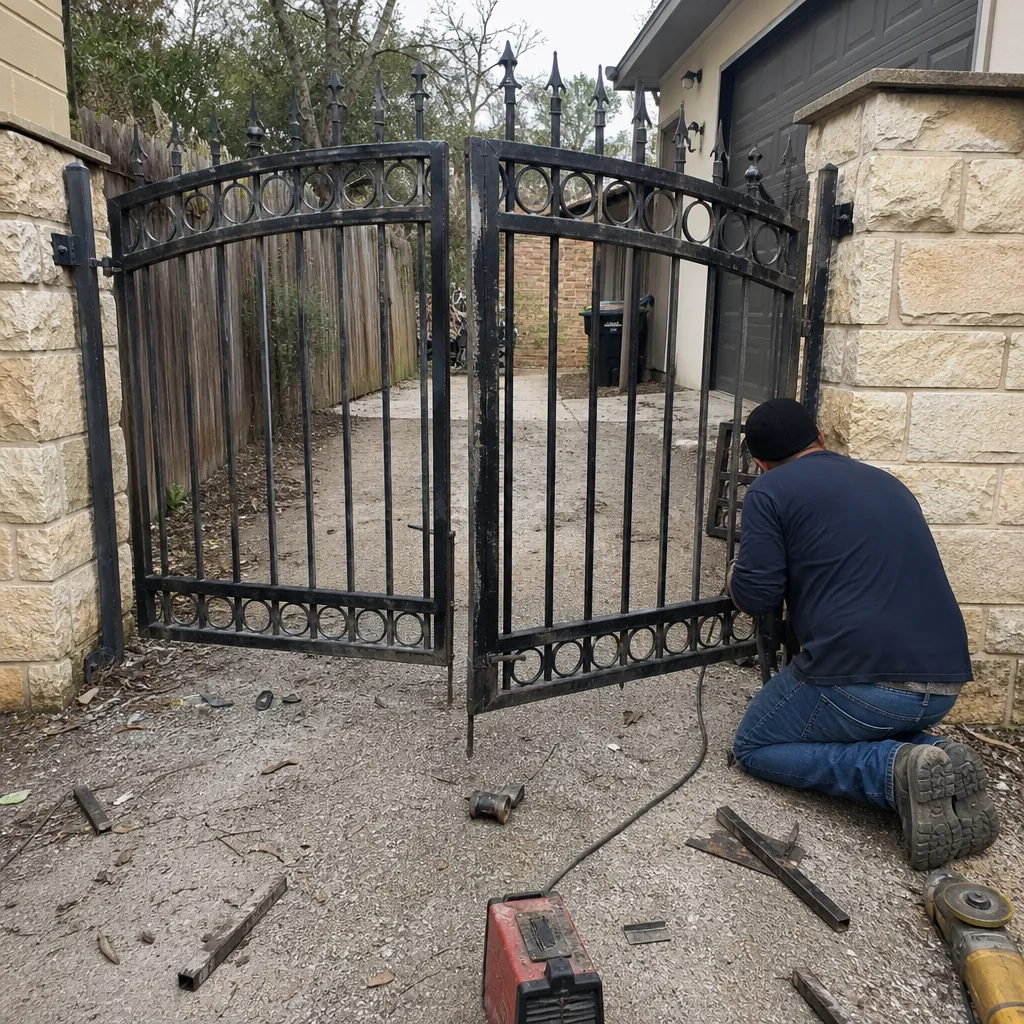 Before
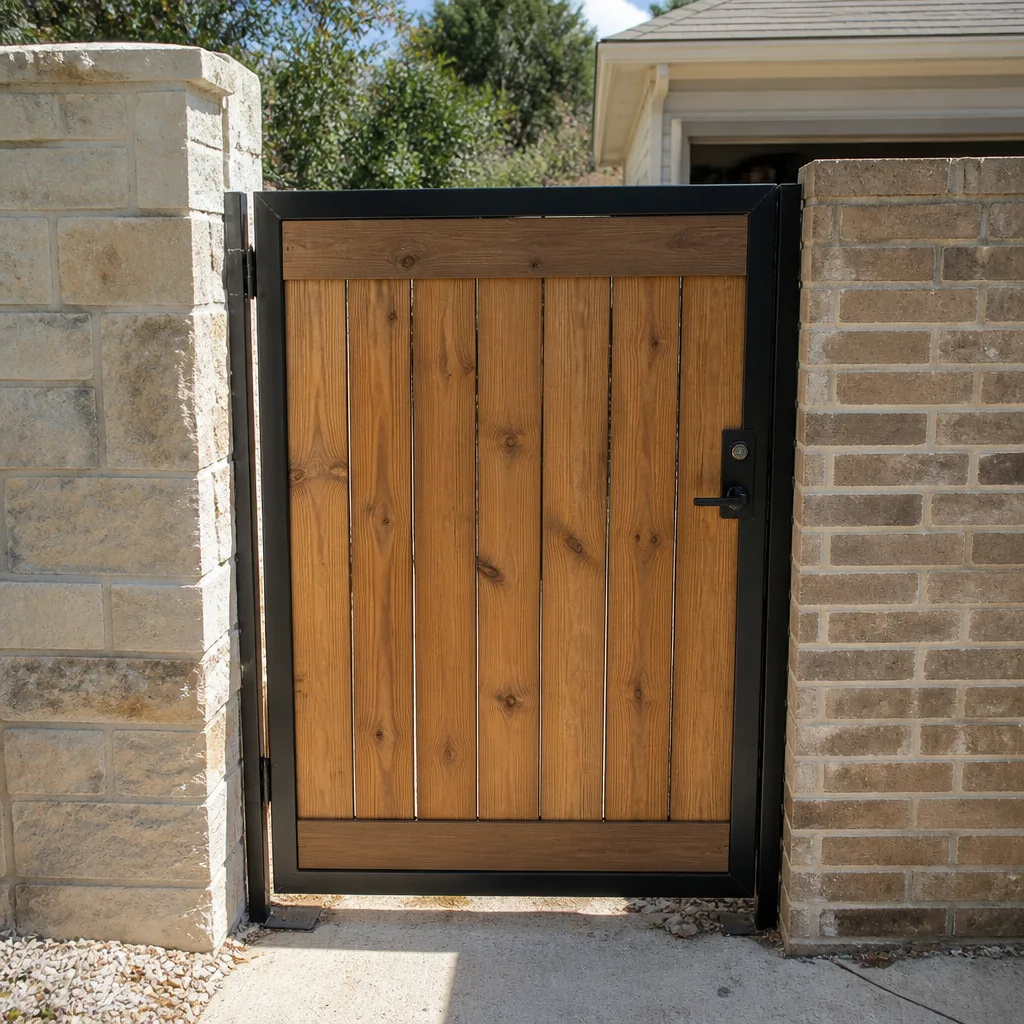 After
After Before
 After
After Before
 After
After